Screen Capture Mac App Quicktime
Have you ever wished you could take a screenshot or recording of your Apple TV? Maybe you wanted to capture the screen to show a family member because you need help. Maybe you’re doing totally awesome on a game and want to start recording it to show your friends. Or maybe you are working on a tutorial or set of instructions for your blog.
8 Steps to capture video. Open Quicktime v10, it will give you a dialogue box for you to select a video, but you don’t want to do that so just click Done. Then go to File New Screen Recording. You will get a red screen record button, which you need to click on. Then it will give you the option of recording the whole screen of. Feb 10, 2017 In the 2016, with OSX Sierra and Quicktime 10.4 you will need to get a virtual Audio Device like SoundFlower to record your systems audio. Once you have SoundFlower installed just do these steps: Change your Mac's output to SoundFlower prior to recording in Quicktime. Start your Quicktime Screen Capture session.
Mar 05, 2020 Byword is $10.99 from the Mac App Store. No trial version is available. Also available for iOS. Free Alternatives for Writers. Still not sure if you need to spend money on a pro writing app? You don’t have to. Here are a number of free ways to write your blogpost, novel or document. Use the Word Processor You Already Have. 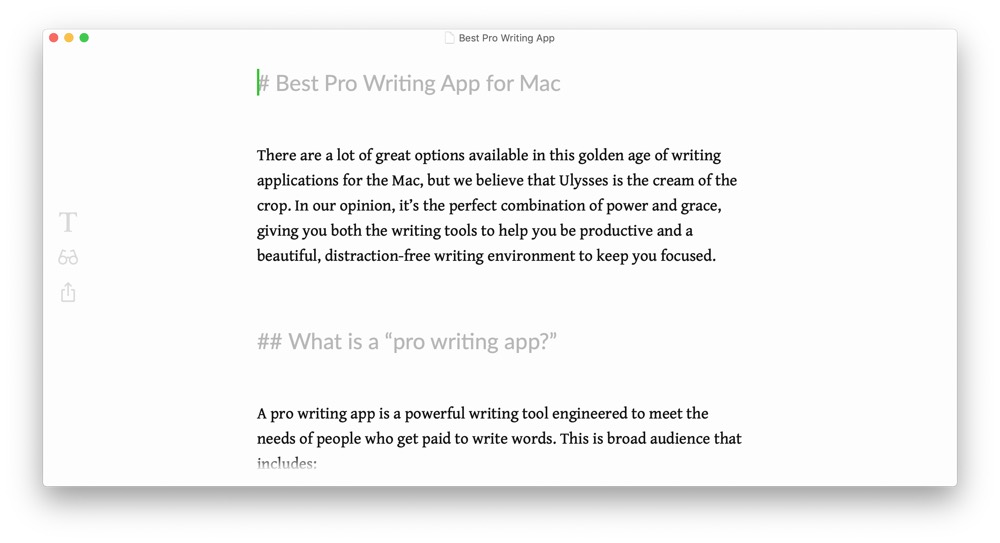 Apr 07, 2017 The Mac is a great tool for writers, with a plethora of software available for any kind of writing. It doesn't matter if you're a student spending long nights on your big paper, a journalist writing up your latest scoop, or a novelist furiously typing away on your next opus — there's an app for you on the Mac. View in the Mac App Store View in the iOS App Store. While Scrivener is excellent for collecting all of your ideas, drafts and notes in one place, there is a lot going on there.
- May 29, 2020 Apple’s QuickTime Player is a multi-purpose app with several other uses including recording the screen activity. Normally, it’s used to play movies on your Mac, however, QuickTime.
- If you own a modern Mac, there is a screen recorder built-in the QuickTime Player X app. QuickTime can record whatever you have displayed on screen, including video playing on websites.
- The Screen Capture is the perfect tool to demo your Software, including your iPhone App (using an iPhone simulator), games, and desktop applications. The Screen Capture provides all the elements needed to create professional-looking product demonstrations of software applications.
It’s now easier than ever to wirelessly take a screenshot or recording of your Apple TV right from your Mac. And this how-to will walk you through those steps.
Other Apple TV tutorials:
Contents
- 1 What you need to take Apple TV screenshots or recordings
- 5 Capturing your Apple TV screen is easy
What you need to take Apple TV screenshots or recordings
Airtel dongle app. Since the release of tvOS 11 and macOS High Sierra, you no longer need to attach a cable from your Apple TV to your Mac to capture the screen. You can do it wirelessly. The only requirements are that you have updated your devices to those versions or later and that your Apple TV and Mac are on the same Wi-Fi network.
In addition, you’ll need QuickTime Player. Fortunately, this handy recording app comes preinstalled on your Mac. There may be third-party apps that accomplish the same task, but since QuickTime Player is a default app on your Mac and it’s free, why not use it?
Screen Capture Quicktime
Connection Issues Between MacBook and Apple TV
If you are connecting your MacBook to your Apple TV for the first time, you may run into some connection related errors if your settings are not correct. Please check the handful of tips in the article below if you run into any connection issues.
Connect your Mac QuickTime Player to your Apple TV
For both screenshots and screen recordings, you’ll follow these steps to connect QuickTime Player on Mac to your Apple TV.
- Open QuickTime Player on your Mac.
- Click File > New Movie Recording from the menu.
- When the recording window opens, it will automatically use your Mac’s camera. Click the arrow next to the red record button in the center.
- Under Camera, select your Apple TV from the list. When you want to capture audio for screen recordings, select Apple TV under Microphone as well.
- When your TV connects, you will see a message asking if you want to allow screen sharing. Click Allow.
You should now see your Apple TV screen in the QuickTime Player recording window and are ready to capture your screen.
How to take a screenshot of Apple TV
If you are not in the area of your Apple TV that you want the screenshot of, simply navigate there. Once you get to the screen you want to capture, follow these steps.
- Click Command + Shift + 4 on your Mac. (You’ll see your cursor turn into crosshairs.)
- Make sure your cursor is over the QuickTime Player window and click the Spacebar. (You’ll see the window dim and the cursor change to a small camera.)
- Click your mouse or trackpad once.
This will capture the entire QuickTime Player screen with your Apple TV screenshot within it. By default, that screenshot will be available on your Mac desktop, unless you have changed the location for your screenshots previously.
Note: The recording toolbar on the QuickTime Player window will disappear and reappear only when you move your mouse or trackpad. So, you may have to wait for it to disappear to take your Apple TV screenshot.
How to take a screen recording of Apple TV
Making a recording of the screen on your Apple TV is quite similar to taking a screenshot, but actually a little easier.
Connect the QuickTime Player to your Apple TV as in the first set of instructions above and then navigate to where you want to begin recording on your Apple TV.
- Click the red record button in the QuickTime Player window on Mac.

- Use your Apple TV as normal, performing whatever action it is you want to record.
- When you want to stop recording, click the gray square button on the QuickTime Player window (which is how the red recording button looks during recording).
And that’s it! You’ve just captured a screen recording of your Apple TV. You can play it, save it, share it, or do whatever it is you wanted the recording for.
Capturing your Apple TV screen is easy
Whether a quick screenshot or lengthy recording, capturing your Apple TV screen is easy with your Mac. And you might be surprised how much this can come in handy!
Just keep in mind that you cannot record television shows or movies on your Apple TV using apps like Netflix, Hulu, or iTunes. This is due to digital rights management (DRM) And if you try, the screen will go blank.
Are you going give taking a screenshot or recording of your Apple TV a try? If so, let us know if you run into any problems and be sure to bookmark this page so you can walk through the process easily.
Sandy worked for many years in the IT industry as a project manager, department manager, and PMO Lead. She then decided to follow her dream and now writes about technology full-time. Sandy holds a Bachelors of Science in Information Technology.
Screenshot Quicktime Mac
She loves technology– specifically – terrific games and apps for iOS, software that makes your life easier, and productivity tools that you can use every day, in both work and home environments.
Her articles have regularly been featured at MakeUseOf, iDownloadBlog and many other leading tech publications.
Related Posts:
Use Shift-Command-5

If you're using macOS Mojave or later, press Shift-Command (⌘)-5 on your keyboard to see onscreen controls for recording the entire screen, recording a selected portion of the screen, or capturing a still image of your screen. You can also record the screen with QuickTime Player instead.
Record the entire screen
- Click in the onscreen controls. Your pointer changes to a camera .
- Click any screen to start recording that screen, or click Record in the onscreen controls.
- To stop recording, click in the menu bar. Or press Command-Control-Esc (Escape).
- Use the thumbnail to trim, share, save, or take other actions.
Record a selected portion of the screen
- Click in the onscreen controls.
- Drag to select an area of the screen to record. To move the entire selection, drag from within the selection.
- To start recording, click Record in the onscreen controls.
- To stop recording, click in the menu bar. Or press Command-Control-Esc (Escape).
- Use the thumbnail to trim, share, save, or take other actions.
Trim, share, and save
After you stop recording, a thumbnail of the video appears briefly in the lower-right corner of your screen.
- Take no action or swipe the thumbnail to the right and the recording is automatically saved.
- Click the thumbnail to open the recording. You can then click to trim the recording, or click to share it.
- Drag the thumbnail to move the recording to another location, such as to a document, an email, a Finder window, or the Trash.
- Control-click the thumbnail for more options. For example, you can change the save location, open the recording in an app, or delete the recording without saving it.
Change the settings
Click Options in the onscreen controls to change these settings:
- Save to: Choose where your recordings are automatically saved, such as Desktop, Documents, or Clipboard.
- Timer: Choose when to begin recording: immediately, 5 seconds, or 10 seconds after you click to record.
- Microphone: To record your voice or other audio along with your recording, choose a microphone.
- Show Floating Thumbnail: Choose whether to show the thumbnail.
- Remember Last Selection: Choose whether to default to the selections you made the last time you used this tool.
- Show Mouse Clicks: Choose whether to show a black circle around your pointer when you click in the recording.
Use QuickTime Player
- Open QuickTime Player from your Applications folder, then choose File > New Screen Recording from the menu bar. You will then see either the onscreen controls described above or the Screen Recording window described in the following steps.
- Before starting your recording, you can click the arrow next to to change the recording settings:
- To record your voice or other audio with the screen recording, choose a microphone. To monitor that audio during recording, adjust the volume slider (if you get audio feedback, lower the volume or use headphones with a microphone).
- To show a black circle around your pointer when you click, choose Show Mouse Clicks in Recording.
- To record your voice or other audio with the screen recording, choose a microphone. To monitor that audio during recording, adjust the volume slider (if you get audio feedback, lower the volume or use headphones with a microphone).
- To start recording, click and then take one of these actions:
- Click anywhere on the screen to begin recording the entire screen.
- Or drag to select an area to record, then click Start Recording within that area.
- To stop recording, click in the menu bar, or press Command-Control-Esc (Escape).
- After you stop recording, QuickTime Player automatically opens the recording. You can now play, edit, or share the recording.
Learn more
- When saving your recording automatically, your Mac uses the name ”Screen Recording date at time.mov”.
- To cancel making a recording, press the Esc key before clicking to record.
- You can open screen recordings with QuickTime Player, iMovie, and other apps that can edit or view videos.
- Some apps, such as DVD Player, might not let you record their windows.
- Learn how to record the screen on your iPhone, iPad, or iPod touch.